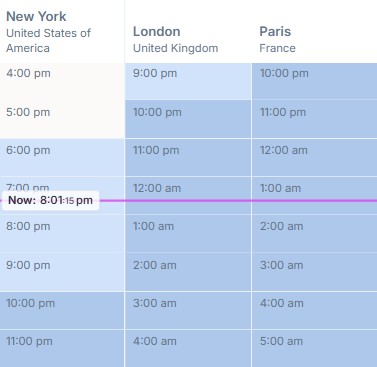
World Time Planner AI helps you schedule meetings across multiple time zones in seconds. Describe your meeting in plain English, pick a time that works for everyone, and send it straight to your calendar. See current time across all time zones.
Describe Your Meeting with the AI Assistant
Enter a natural language description of your meeting in the AI Assistant bar — who it's with, what it's about, where, how long, and when.
The AI reads your request, extracts the details, and automatically works out the best time across all the relevant time zones.
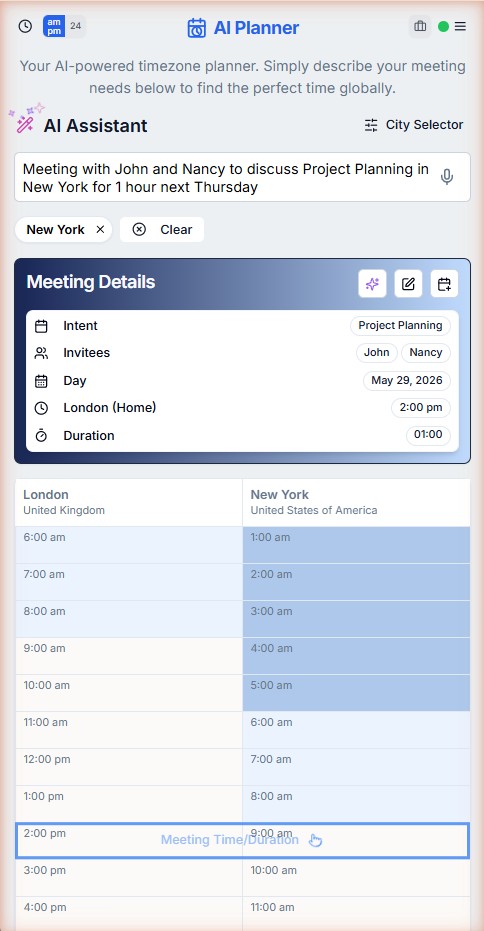
- →Example: "Meeting with John and Nancy to discuss Project Planning in New York for 1 hour next Thursday."
- →The AI uses the city or timezone you mention to anchor the suggested time to local daytime hours.
- →Tap the sparkle (✦) button to let the AI suggest the optimal time across all your added cities.
- →You can also tap the microphone icon to dictate your meeting instead of typing.
Add the Cities You Need
Tap City Selector (top right of the AI Assistant bar) to open the city panel. Search for any city and tap it to add it to your view. Add as many cities as you need — they appear as columns in the timezone timeline below.
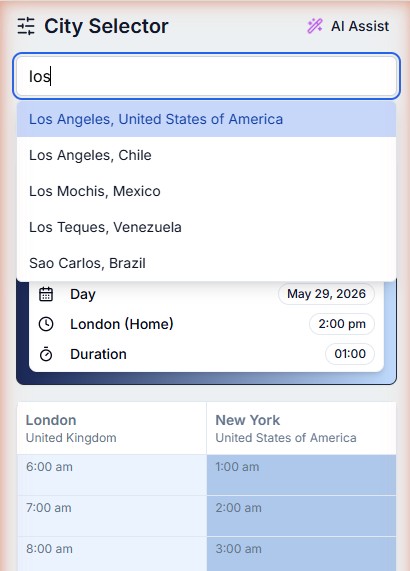
- →Your first city is set as your Home city and anchors the meeting time.
- →Tap the × next to any city chip to remove it.
- →Tap Clear to remove all cities at once.
Review the Meeting Details Card
After the AI processes your request, the Meeting Details card fills in automatically with the intent, invitees, date, home-city time, and duration. Check everything looks right before moving on.
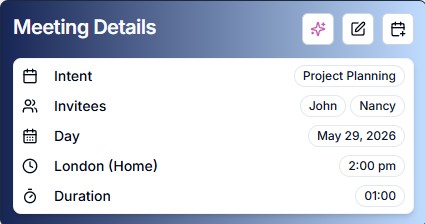
- →Tap the pencil icon (✏) on the card to edit any field manually.
- →Tap the sparkle icon (✦) on the card to let the AI suggest a smarter time.
- →The home-city time shown is what gets booked in your calendar.
Find the Perfect Time in the Timeline
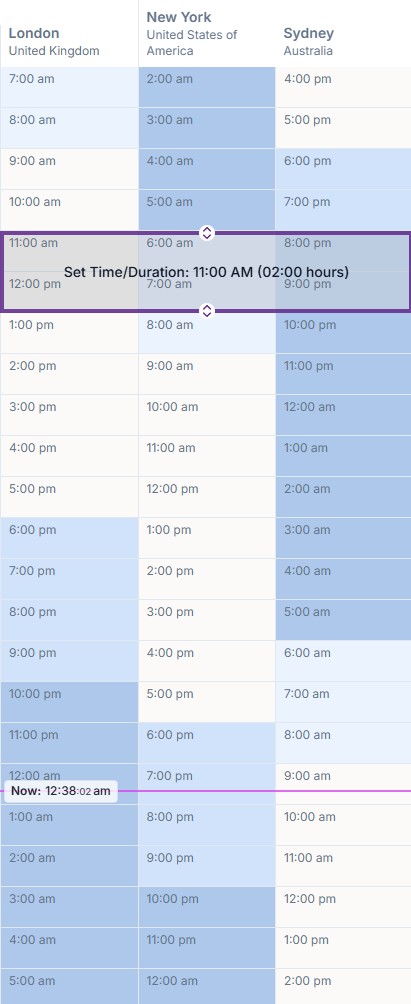
The multi-timezone timeline shows every city as a column, updating live. The highlighted row marks your chosen meeting slot. The pink line shows the current time. Blue shading indicates typical working hours (9 am – 6 pm). Tap any row to move the meeting to that time.
- →Scroll up and down the timeline to explore earlier or later slots.
- →Look for a row where all cities fall within the blue working-hours band for a time that works for everyone.
- →The "Meeting Time/Duration" label shows exactly which row is selected.
Send the Meeting to Your Calendar
Once you're happy with the time, tap the calendar icon (📅) in the top-right corner of the Meeting Details card. This opens your device's calendar or sends an invite directly — the event is pre-filled with the title, invitees, date, time, and duration.
- →On mobile, it opens your default calendar app with the event pre-filled.
- →On desktop, it downloads an .ics file you can open in Google Calendar, Outlook, or Apple Calendar.
💡 Log in to unlock more
- →Save your home city so it's always set when you open the app.
- →Your cities are remembered between sessions.
- →Tap the green dot in the top-right corner to sign in with Google or Apple.